


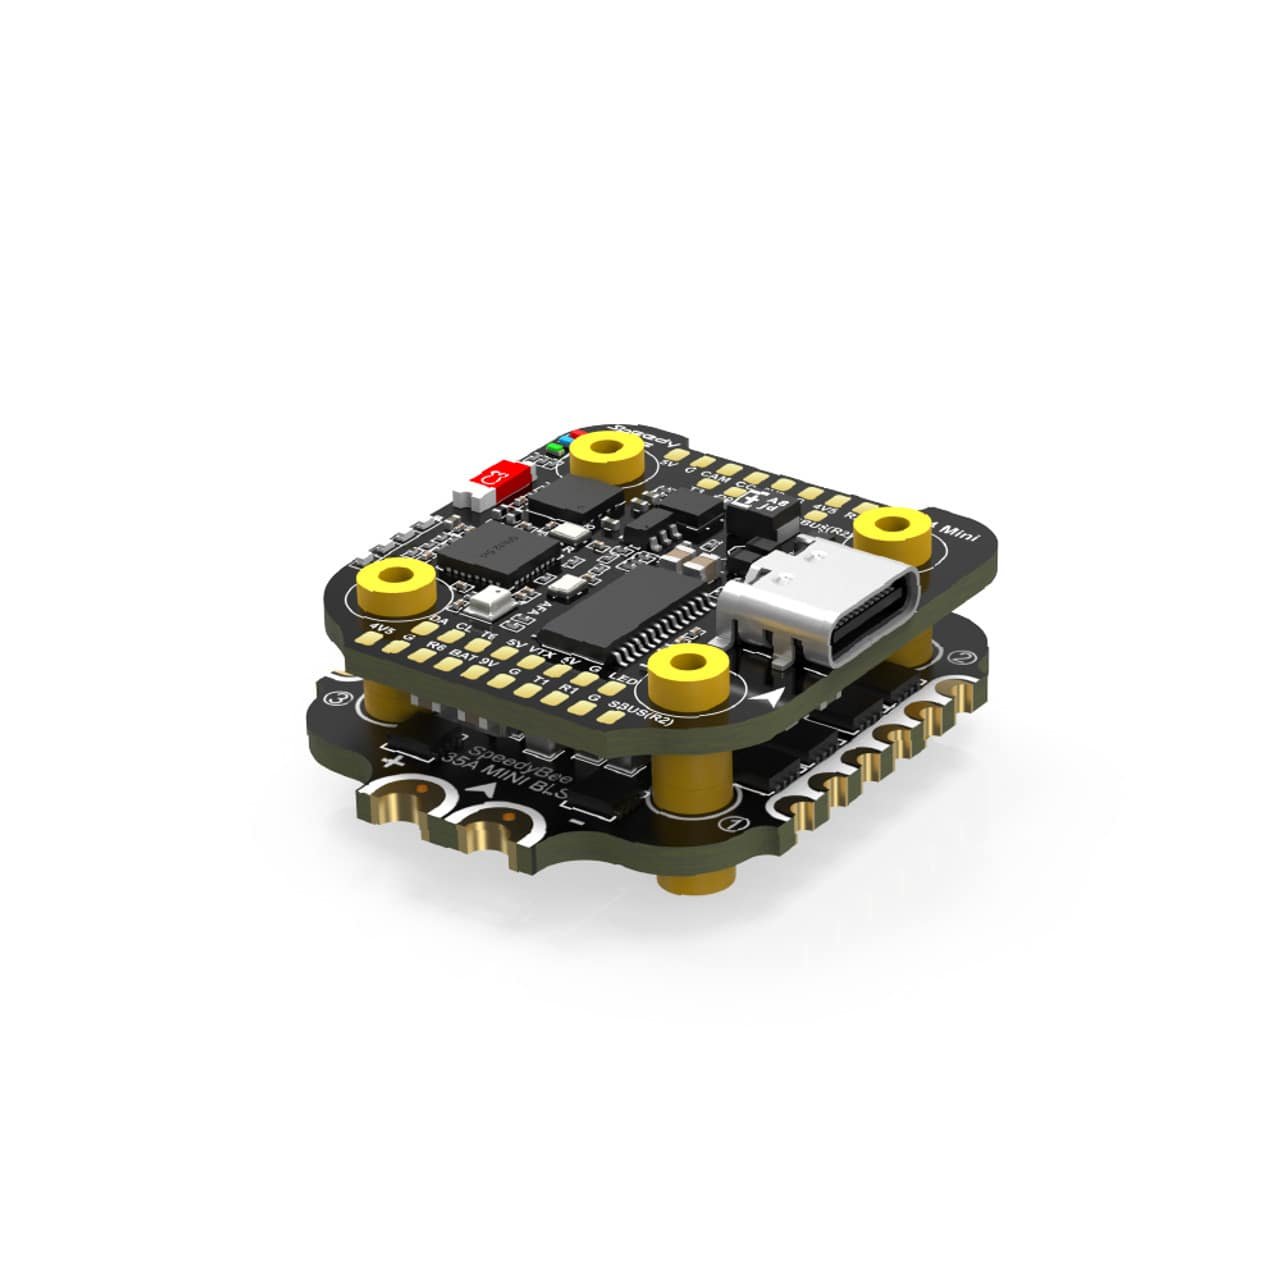


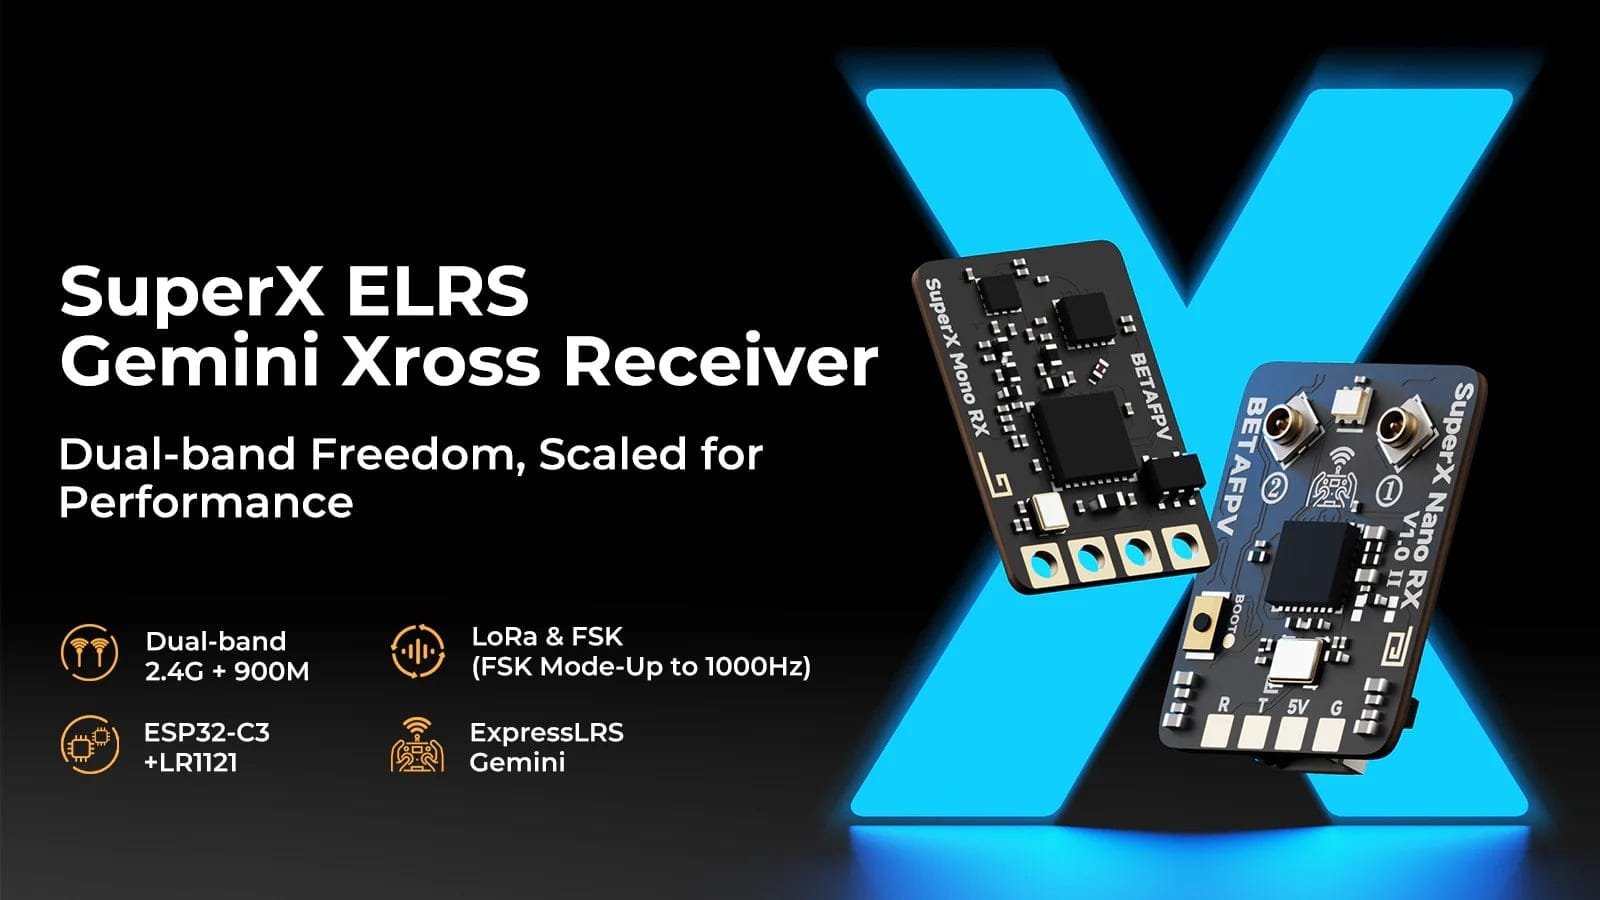
BETAFPV SuperX ELRS Gemini Xross Receiver Nano/Mono
Price range: €20,99 through €30,99
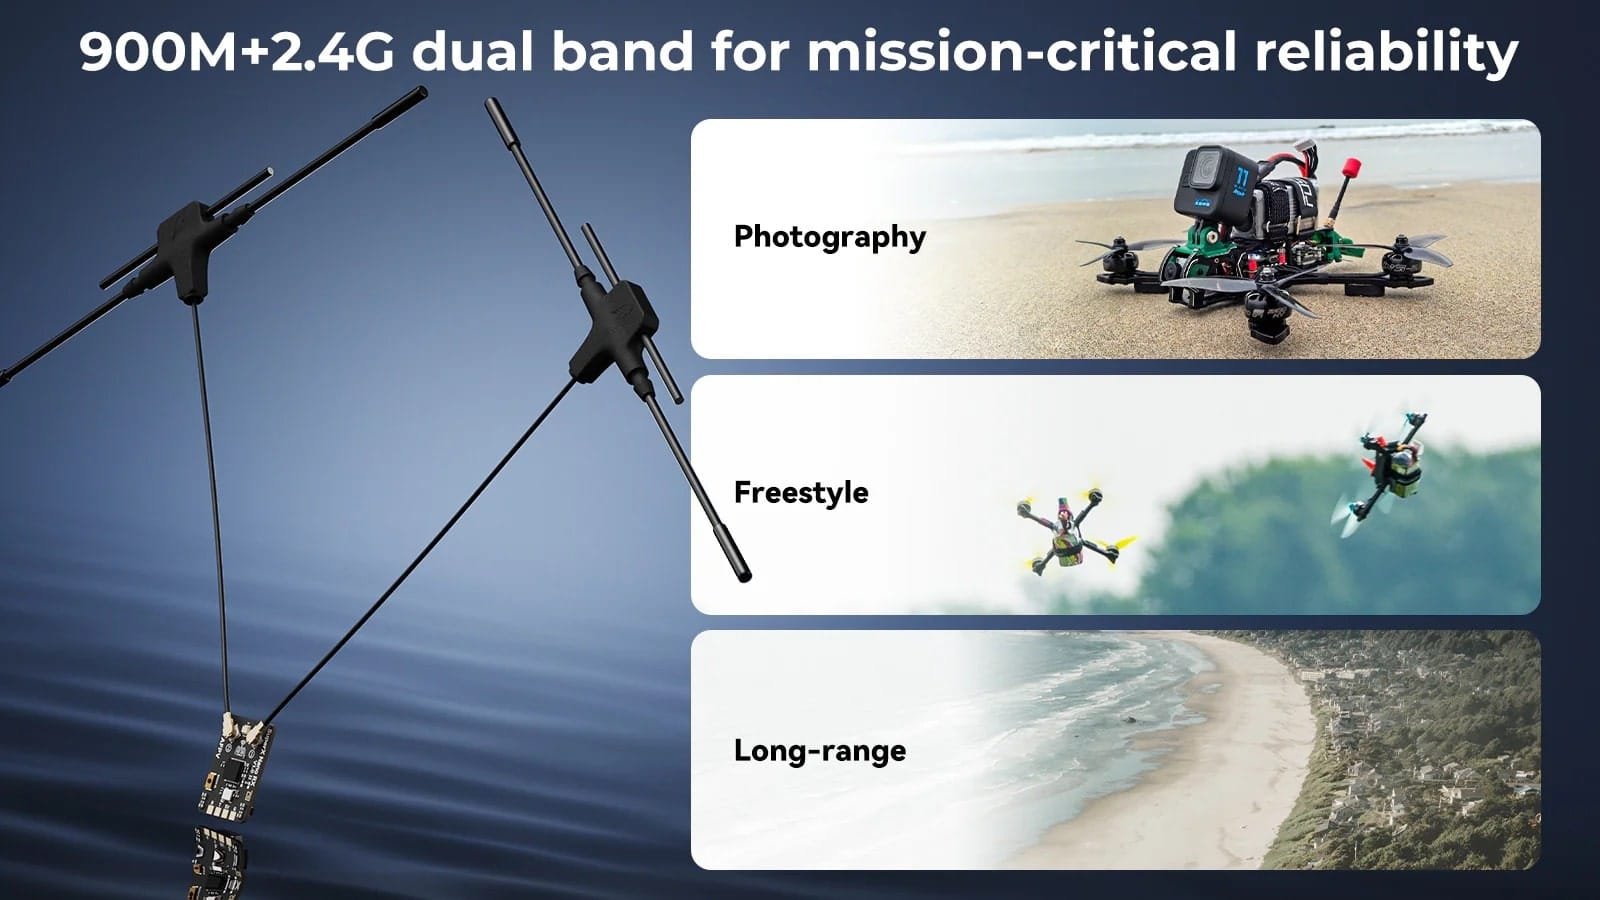
Overcome all obstacles and long distances with unwavering signal reliability where all RXs lose connection.
![]() 1 – 2 days
1 – 2 days
Powered by Semtech LR1121 RF chip and Espressif ESP32-C3, SuperX introduces the first BETAFPV Gemini Xrossband receiver, operating both 900M (868/915 MHz) and 2.4G frequency bands via LoRa and ultra-fast 1000 Hz FSK mode. Overcome all obstacles and long distances with unwavering signal reliability where all RXs lose connection.
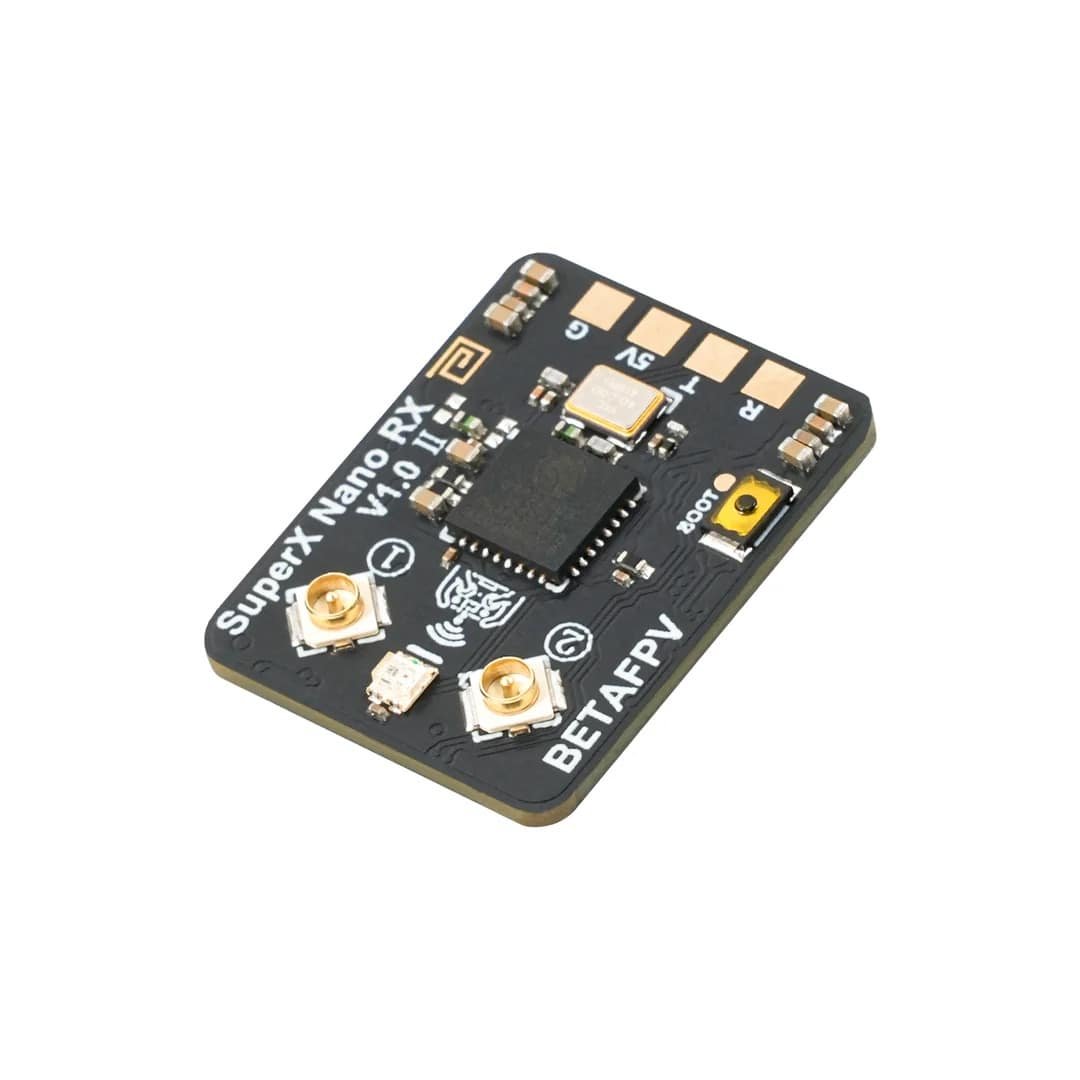
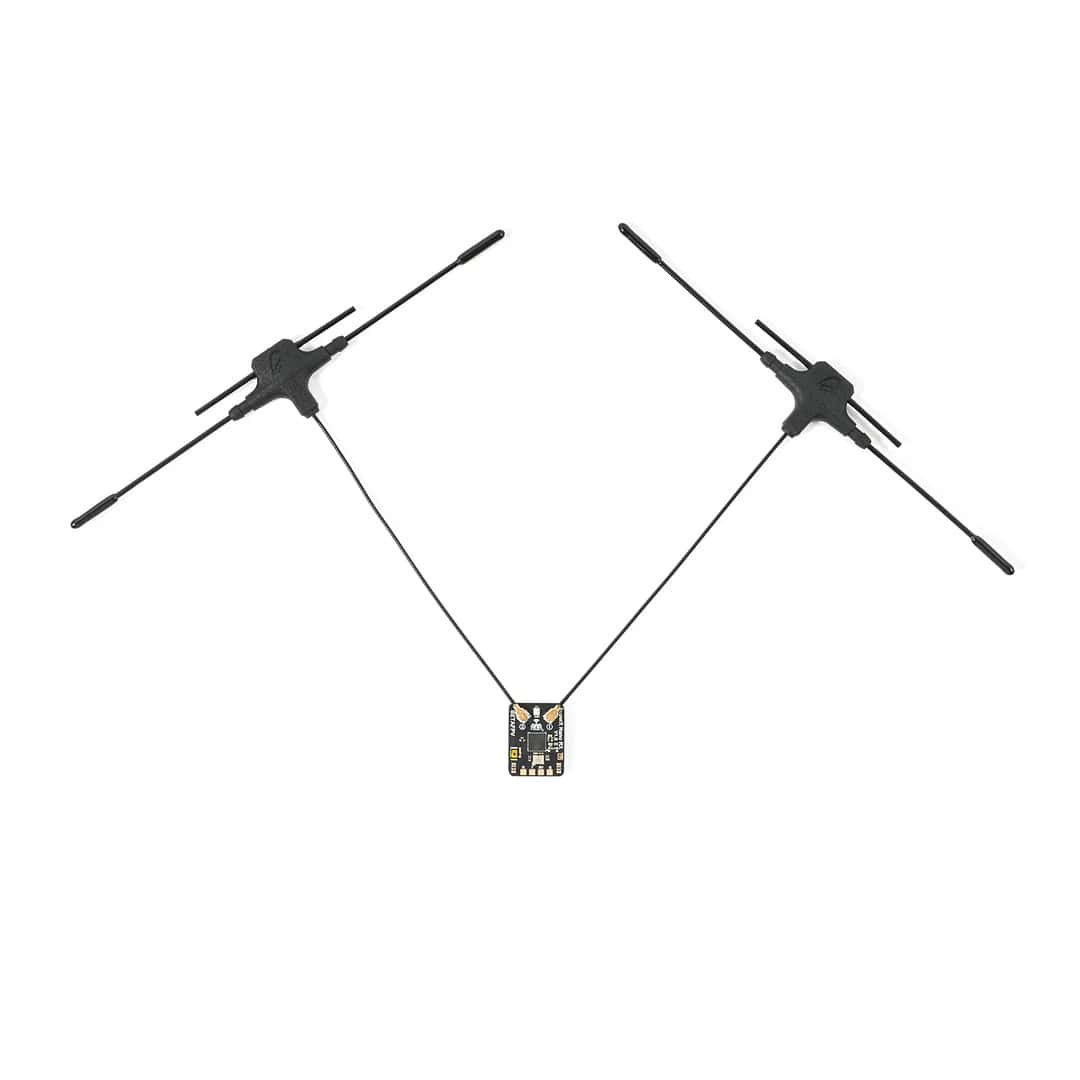
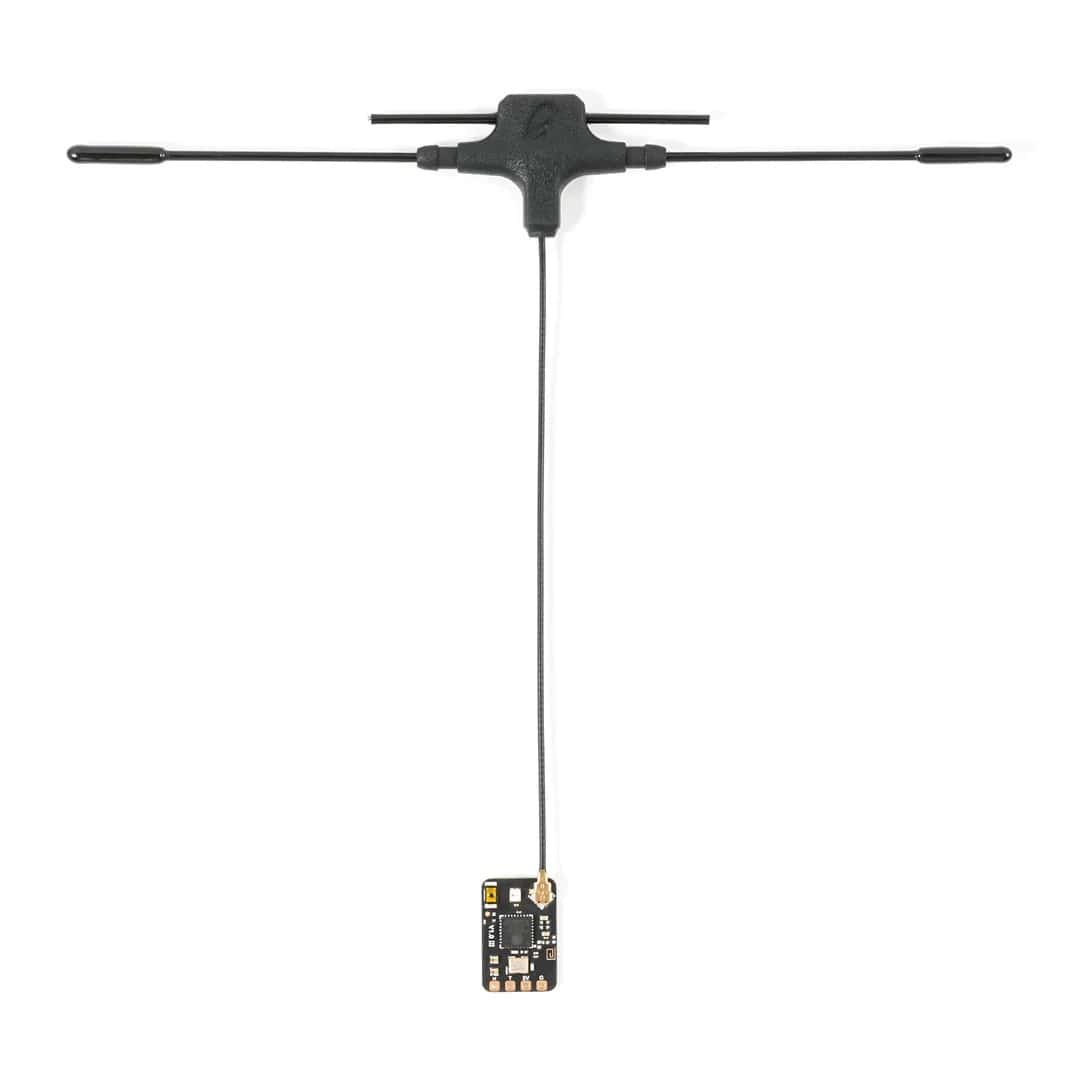
Powered by two Semtech LR1121 chips, the SuperX Nano receiver delivers unmatched signal reliability with three modes: 900M Gemini (long range bandwidth), 2.4G Gemini (ultra-low latency), and 900M+2.4G GemX (simultaneous operation). The included dual-band T-type antennas eliminate the hassle of frequency switching, while advanced diversity processing technology ensures exceptional stability in RF interference-laden environments. Built for mission-critical applications, it is the ultimate solution for competitive racers, long-range explorers, and professional aerial photographers who demand uncompromising performance.
Features:
• Semtech LR1121 RF chips + Espressif ESP32-C3;
• LoRa and lightning fast 1000 Hz FSK modes;
• Supports 900M Gemini, 2.4G Gemini, 900M+2.4G GemX;
• SuperX Nano: Dual-band mastery in RF-interference-ridden environments;
• Compatible with Micro / Micro V2 / Nano V2 / SuperG TX modules;
• Compact and lightweight.
Specification:
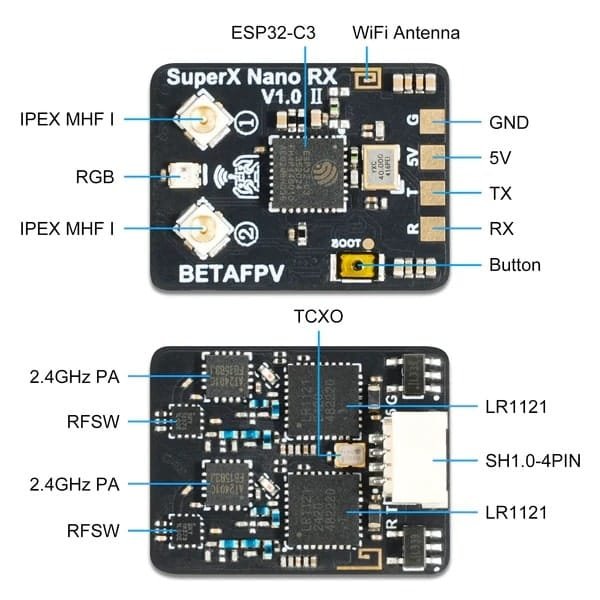
• MCU: ESP32-C3;
• Telemetry power: 20 dBm;
• Input voltage: 5V;
• Protocols: CRSF, SBUS, SUMD, DJI RS2 Pro, MAVLink;
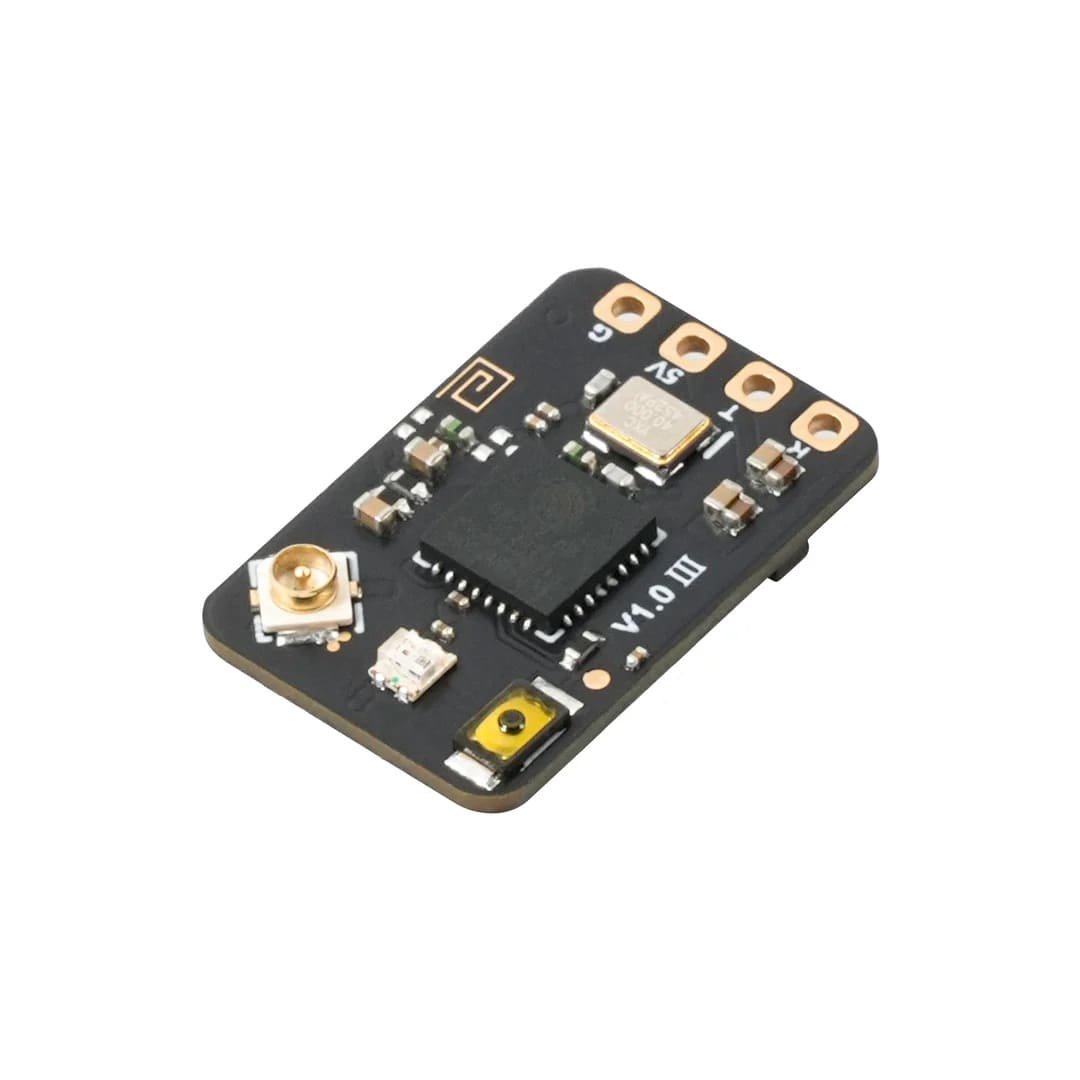
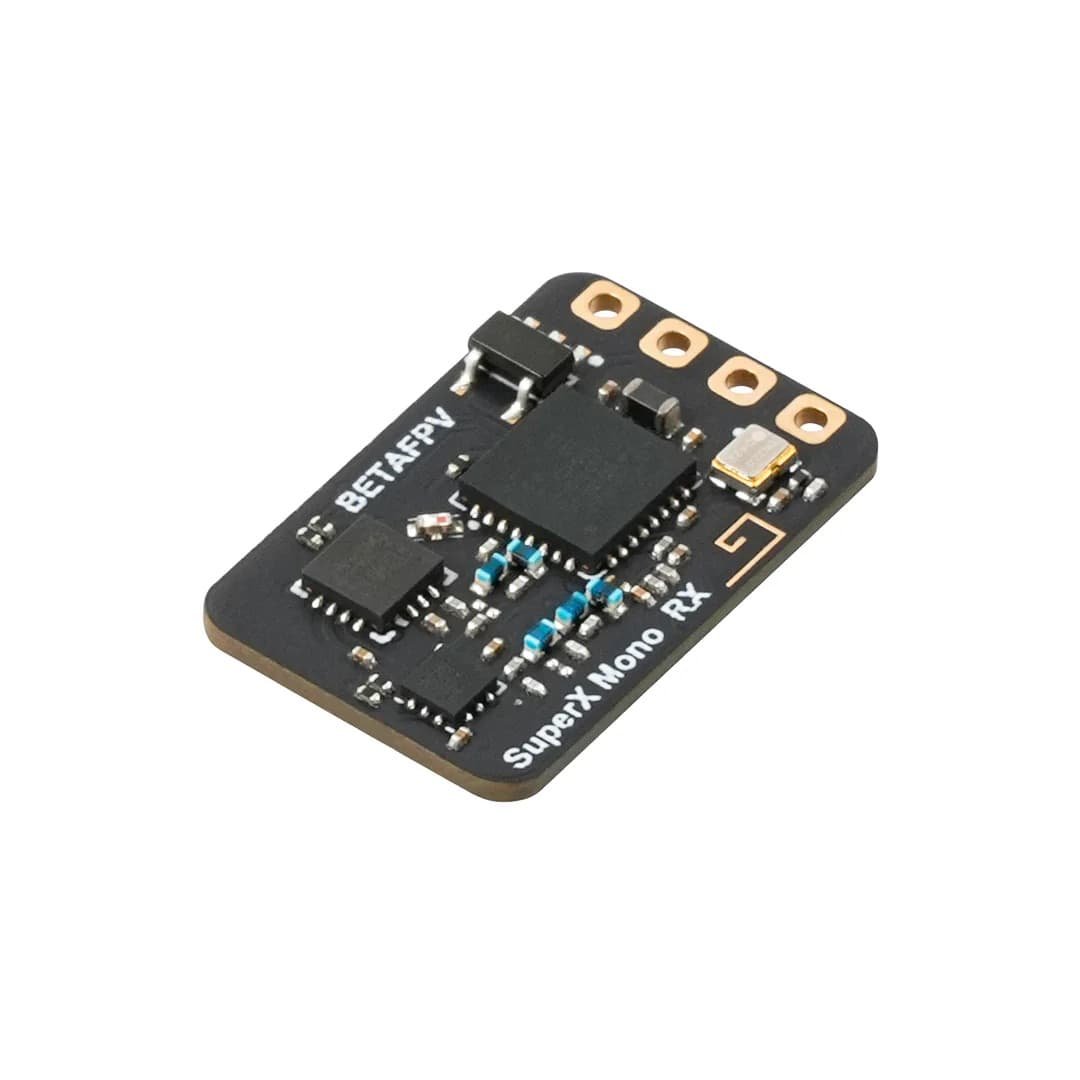
• RF chip: Single LR1121 (Mono) / Dual LR1121 (Nano);
• Reception mode: Single (Mono) / Diversity/Gemini (Nano);
• Frequency band: 900M/2.4G (Mono) / 900M+2.4G (Nano);
• Antenna connector: IPEX MHF1 x1 (Mono) / IPEX MHF1 x2 (Nano);
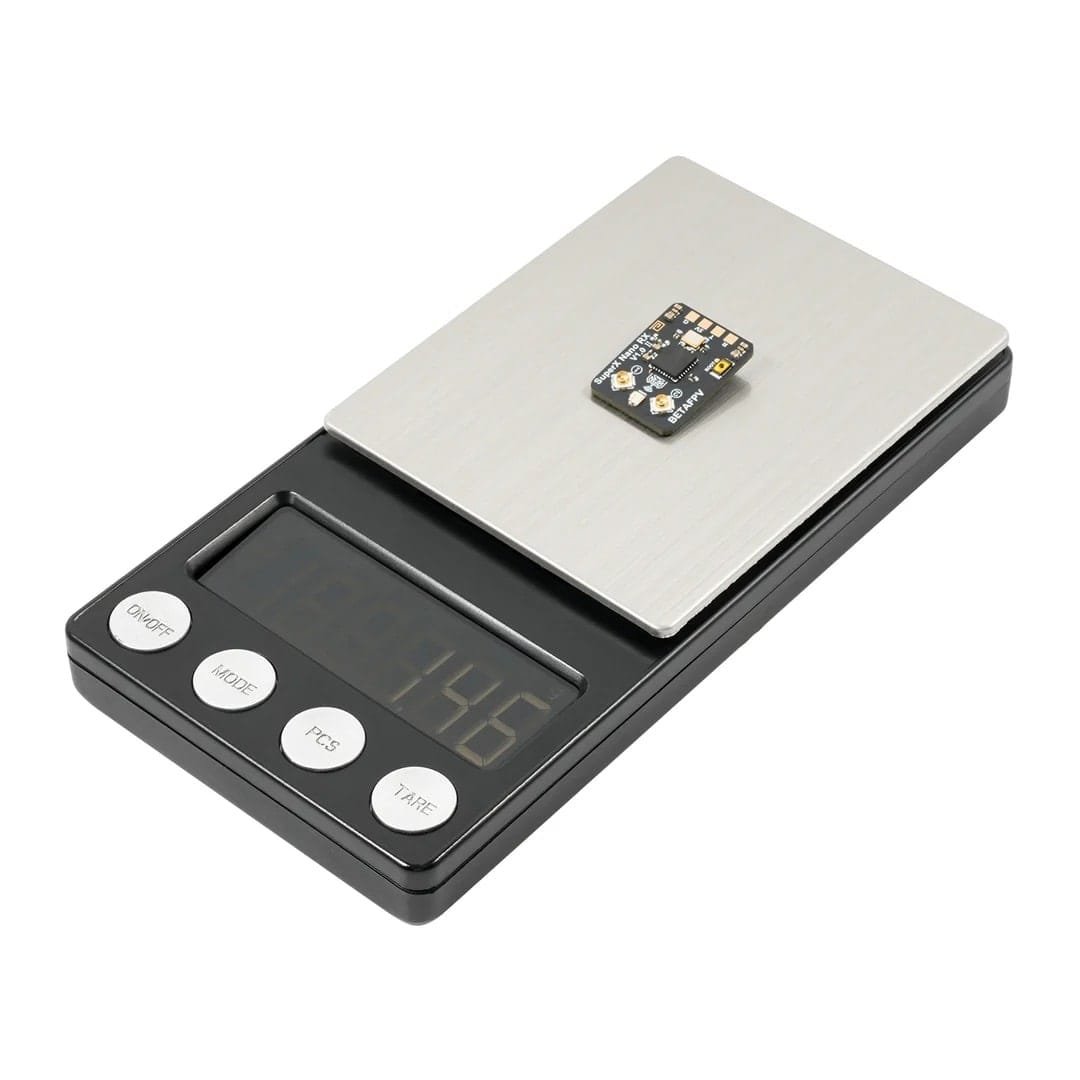
• Weight: 0.82 g (Mono) / 1.45 g (Nano);
• Dimensions: 12.3 x 18.6 mm (Mono) / 16.3 x 21.4 mm (Nano);
• LUA name: BFPV SuperX Mon (Mono) / BFPV SuperX Nan (Nano);
• Recommended: for 2”–5” drones (racing, freestyle, long-range) (Mono) / 5”+ drones (freestyle, photography, long-range) (Nano).
SuperX NANO Diagram
SuperX MONO Diagram

The SuperX receiver currently supports CRSF/SBUS/SUMD protocols. The following is an example of how to configure the CRSF protocol to connect to a Betaflight firmware flight controller.
Wiring diagram:
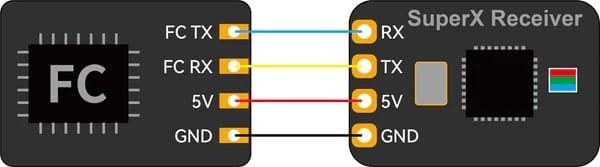
JST SH connector pin configuration:
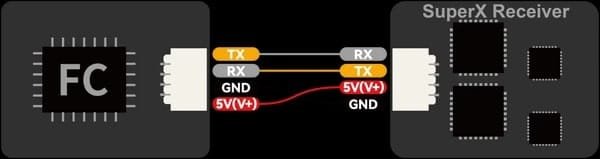
Betaflight and ExpressLRS use different pin configurations for the JST SH connector. In the case of Betaflight, the order is 5V (V+), GND, RX, TX, while in the case of ExpressLRS, the order is GND, 5V (V+), TX, RX. When using jumper cables for connection, it is necessary to check their order.
Connect the flight controller to the Betaflight Configurator for basic configuration. First, in the Port section, enable the flight controller's serial port, for example UART1, as Serial Rx.

In the Configuration section, set Receiver Mode to Serial (via UART) and Serial Receiver Provider to CRSF.
Pairing (Bind)
The SuperX receiver uses the official ExpressLRS V3.x protocol by default without a predefined binding phase. For the device to work properly, please make sure that the transmitter module also uses ExpressLRS V3.x or later firmware without a predefined phase.
The receiver must be turned off and on three times every 1 second or press and hold the BOOT button for 2 seconds to enter pairing mode.
The RGB indicator flashes orange twice, indicating that the receiver is in bind mode.
Configure the remote control or transmitter module to pair with the receiver. If the RGB indicator is solid, pairing is complete!
Notes:
• After the first pairing, the receiver automatically saves the phase and device. Later, when the device is restarted, pairing will occur automatically, without the need for a repeated procedure;
• If you have written new software to the SuperX and set the pairing phase, pairing using the above method will no longer be possible. In this case, it is necessary to set the same phase in the transmitter module, and the receiver will automatically connect to the device;
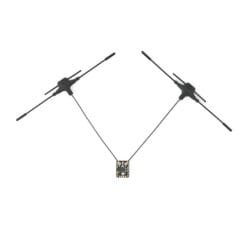
• It is recommended to place the antennas as far apart as possible to ensure better reception.
SuperX Nano Package:
1x SuperX Nano receiver;
2x dual-band T-type antennas;
1x SH1.0 connector (double-sided);
2x heat shrink tubing;
1x user manual.

SuperX Mono Package:
1x SuperX Mono receiver;
1x dual-band T-type antenna;
1x SH1.0 connector (double-sided);
2x heat shrink tubing;
1x user manual.

| Version | SuperX Nano, SuperX Mono |
|---|
Only logged in customers who have purchased this product may leave a review.
Related products
-16%
Pre-order
Original price was: €22,49.€18,99Current price is: €18,99.
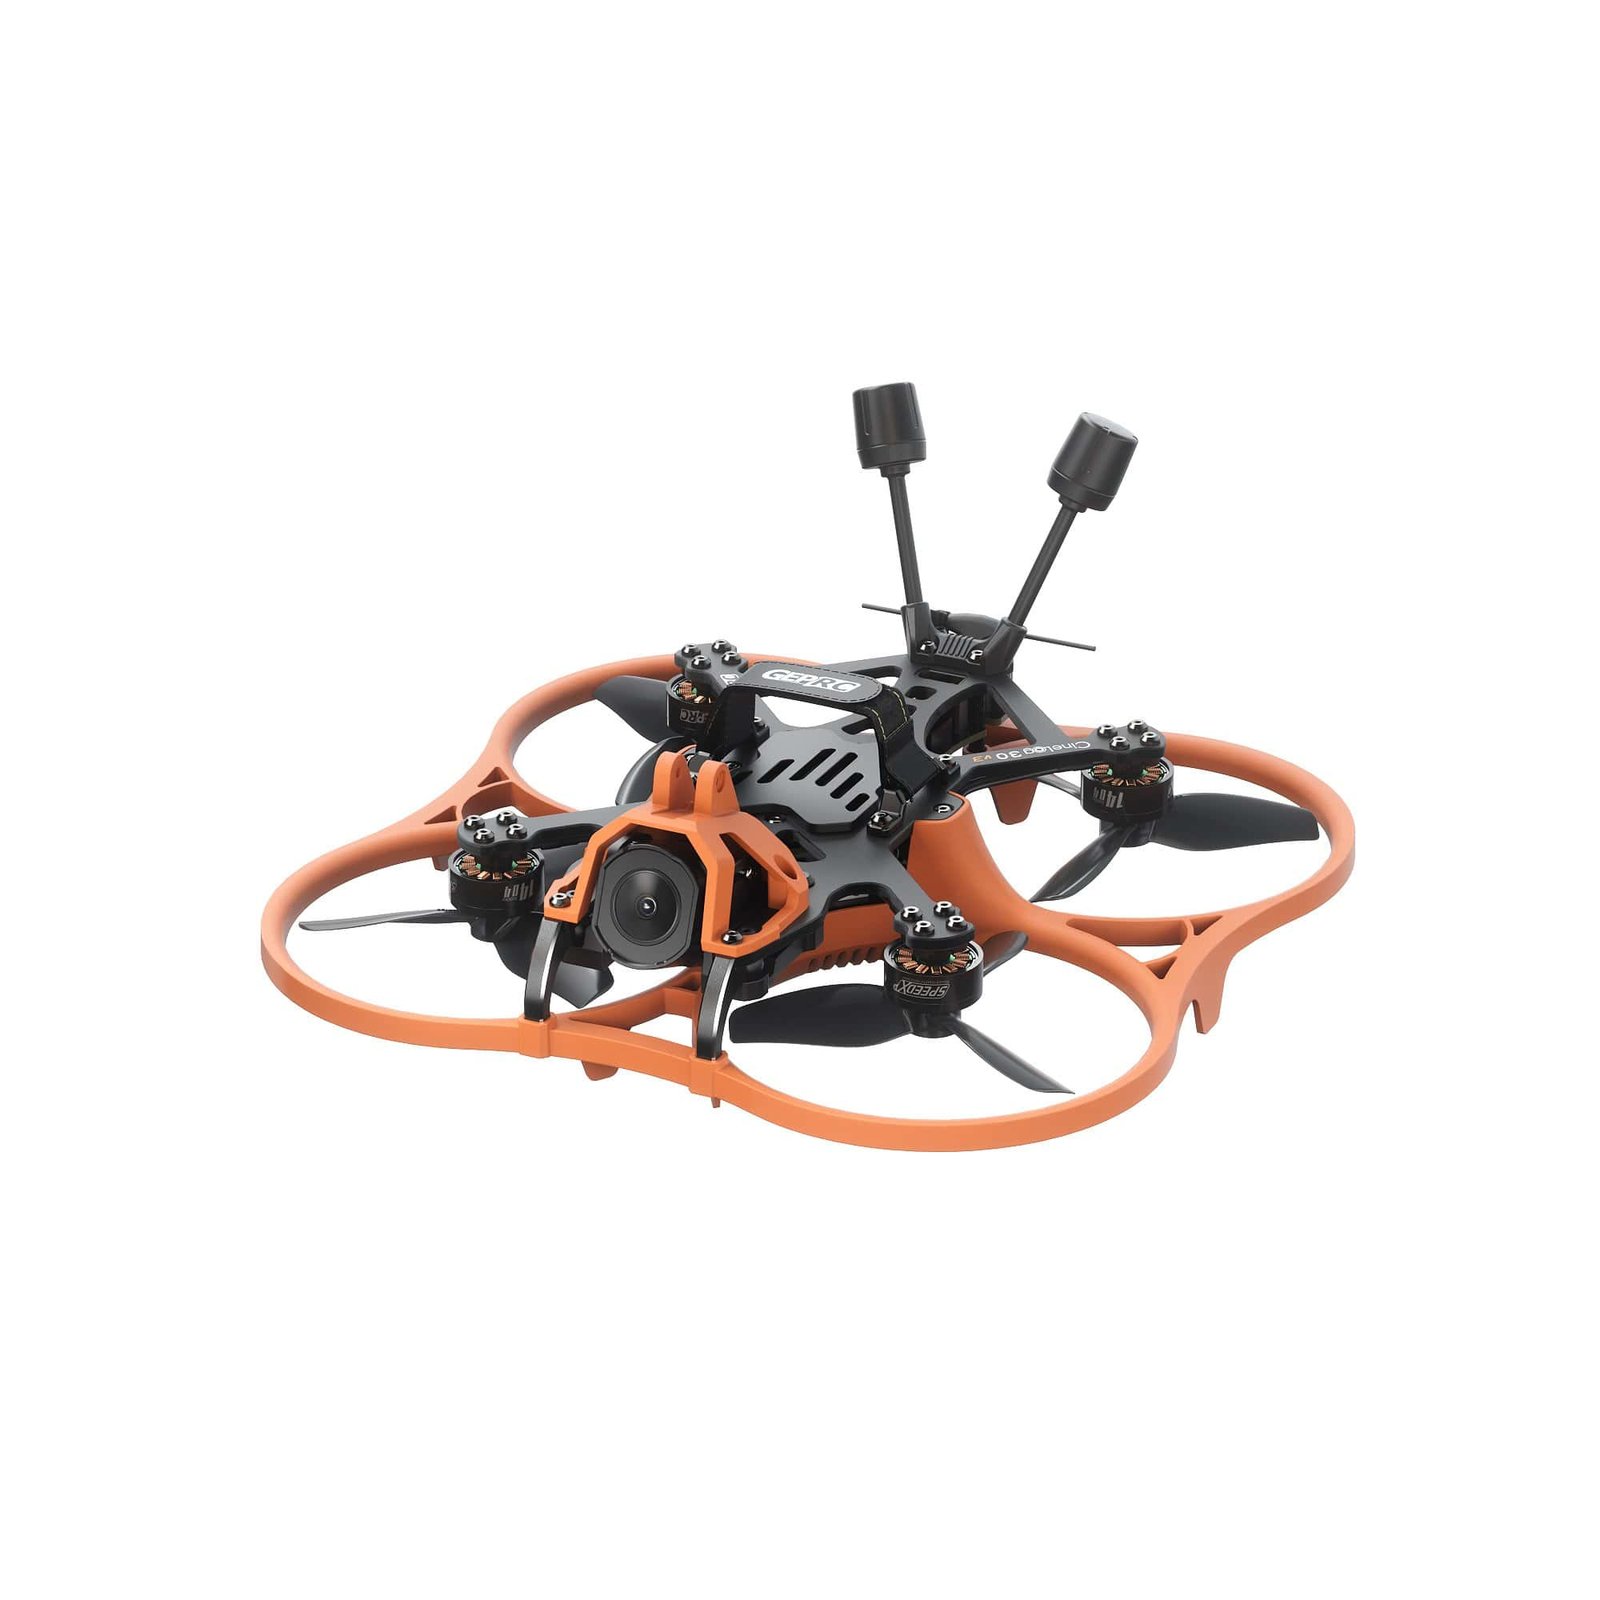
Whoop frames
€6,49
This product has multiple variants. The options may be chosen on the product page 
-86%

Accessories
Original price was: €13,99.€1,99Current price is: €1,99.
This product has multiple variants. The options may be chosen on the product page 
Whoop frames
€6,49
This product has multiple variants. The options may be chosen on the product page 
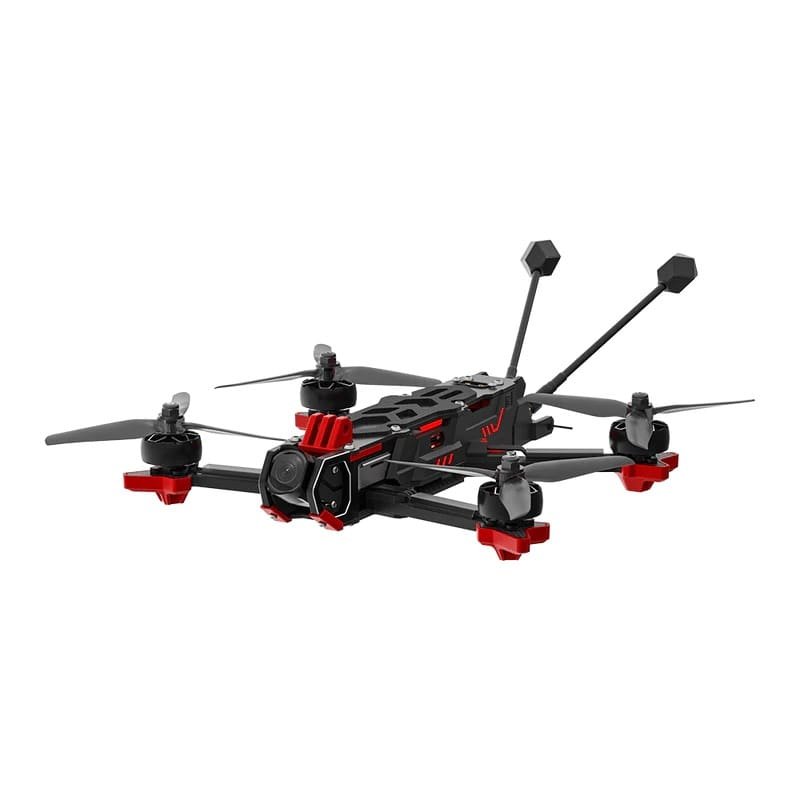
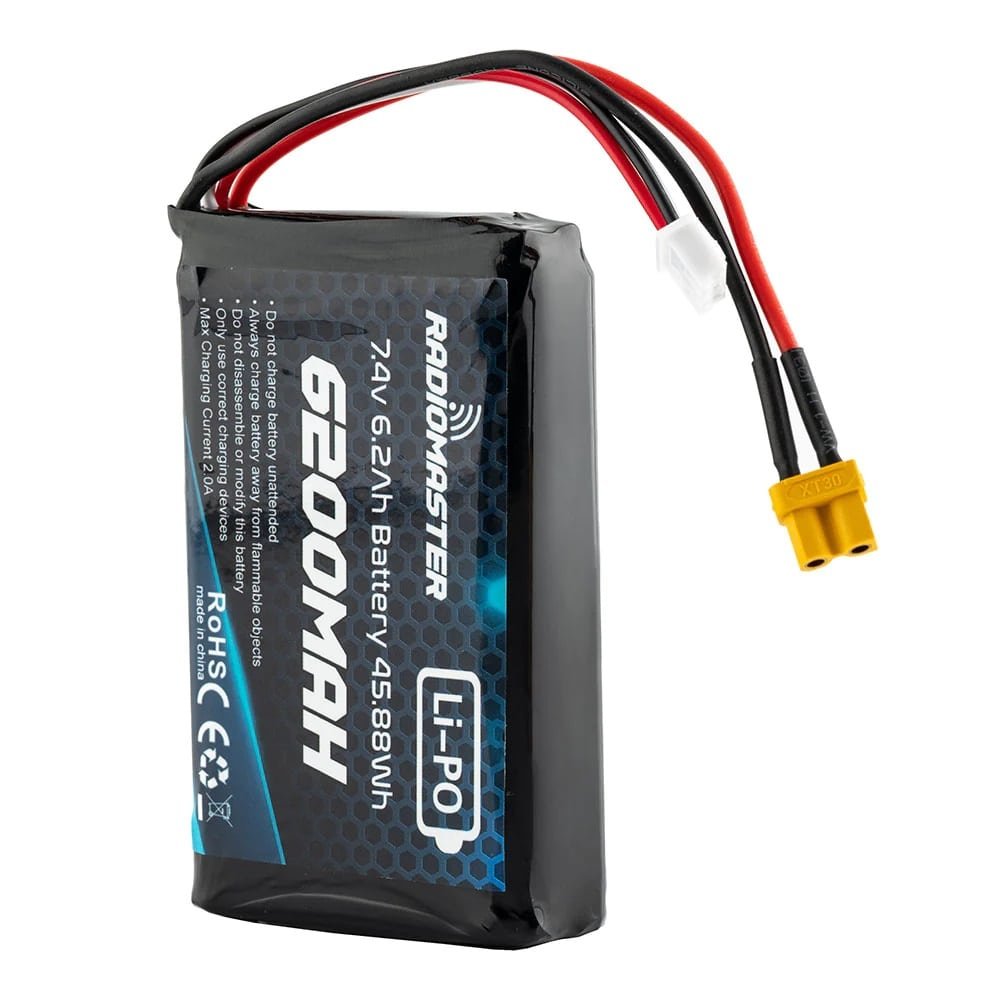
Receivers (RX)
€22,99
This product has multiple variants. The options may be chosen on the product page -7%

1S LiPo batteries
Original price was: €9,99.€9,29Current price is: €9,29.
Reviews
There are no reviews yet.