


-17%

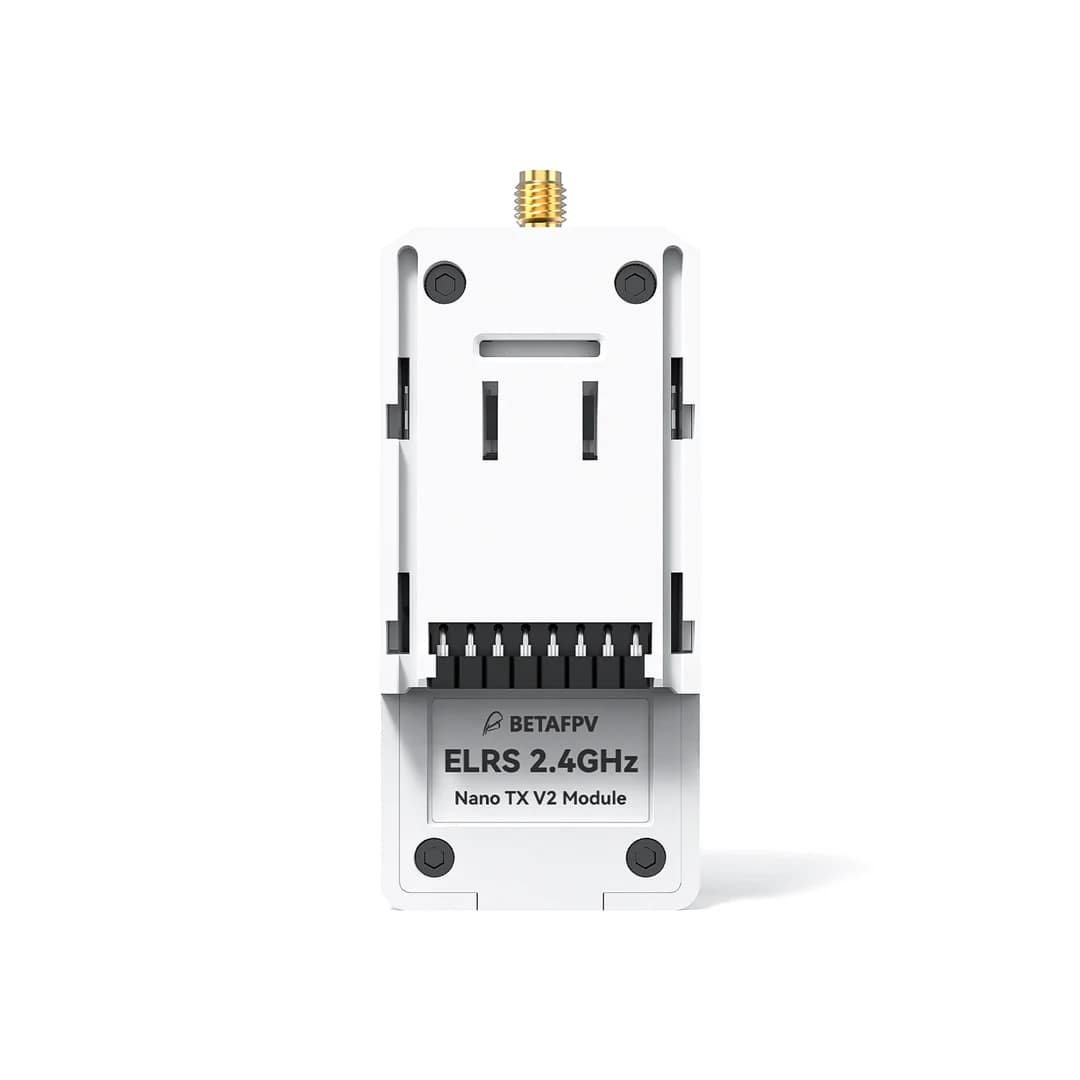

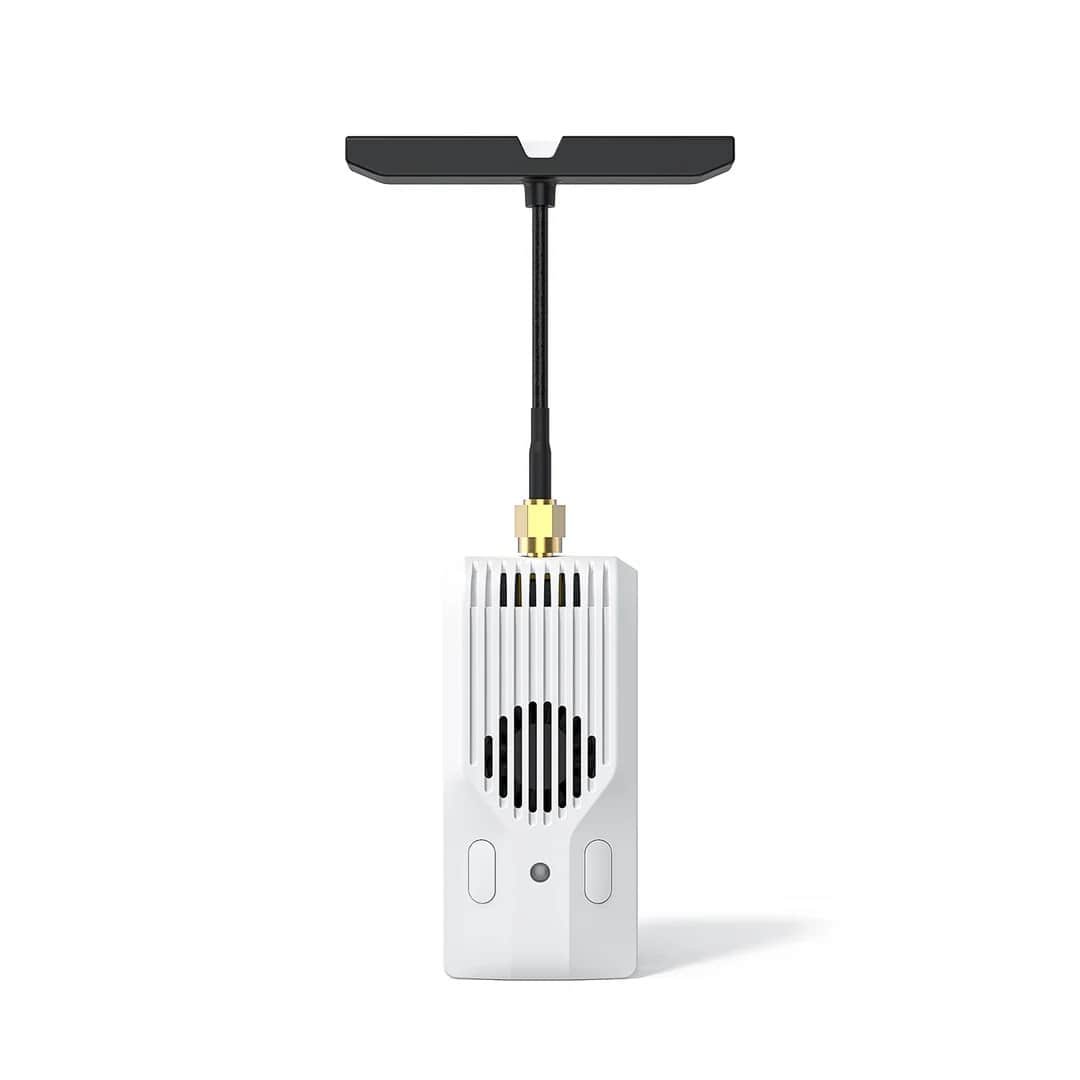


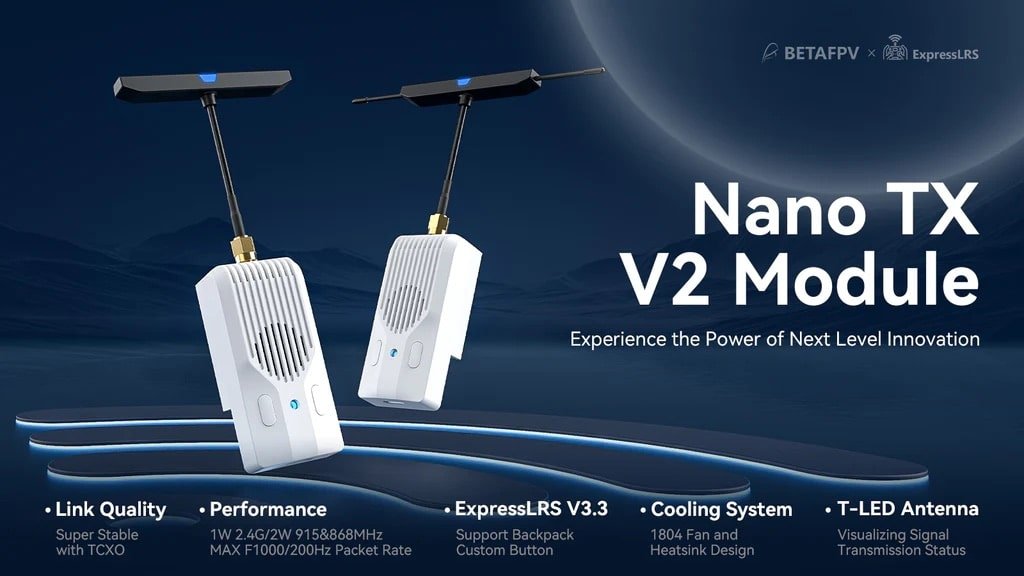
BETAFPV Nano TX V2 Module
Original price was: €59,99.€49,99Current price is: €49,99.
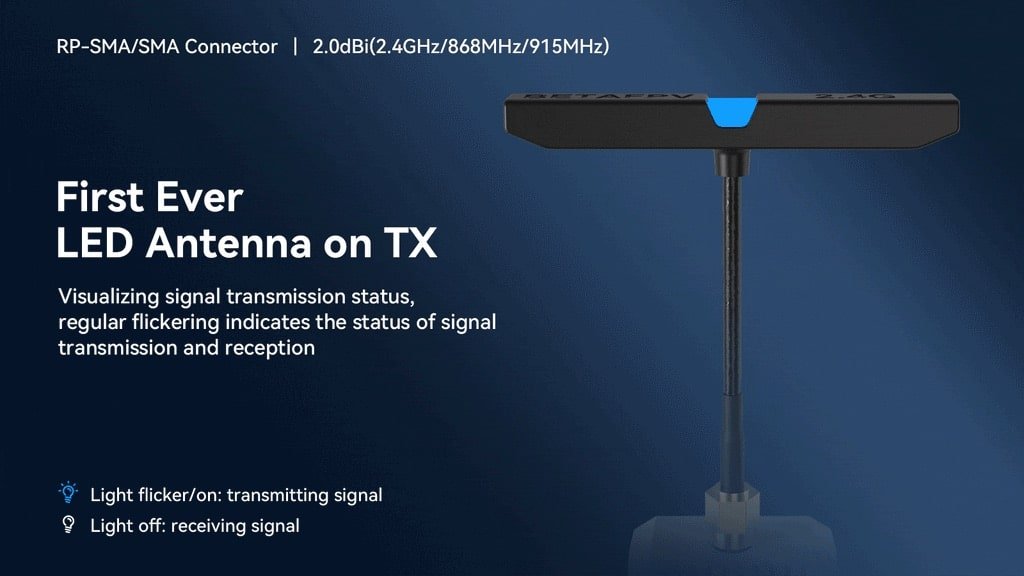
The first T-LED antenna with a built-in LED display, allowing pilots to effortlessly monitor the transmitted and received signal using a radio transmitter.
 1 – 2 days
Out of stock
Features:
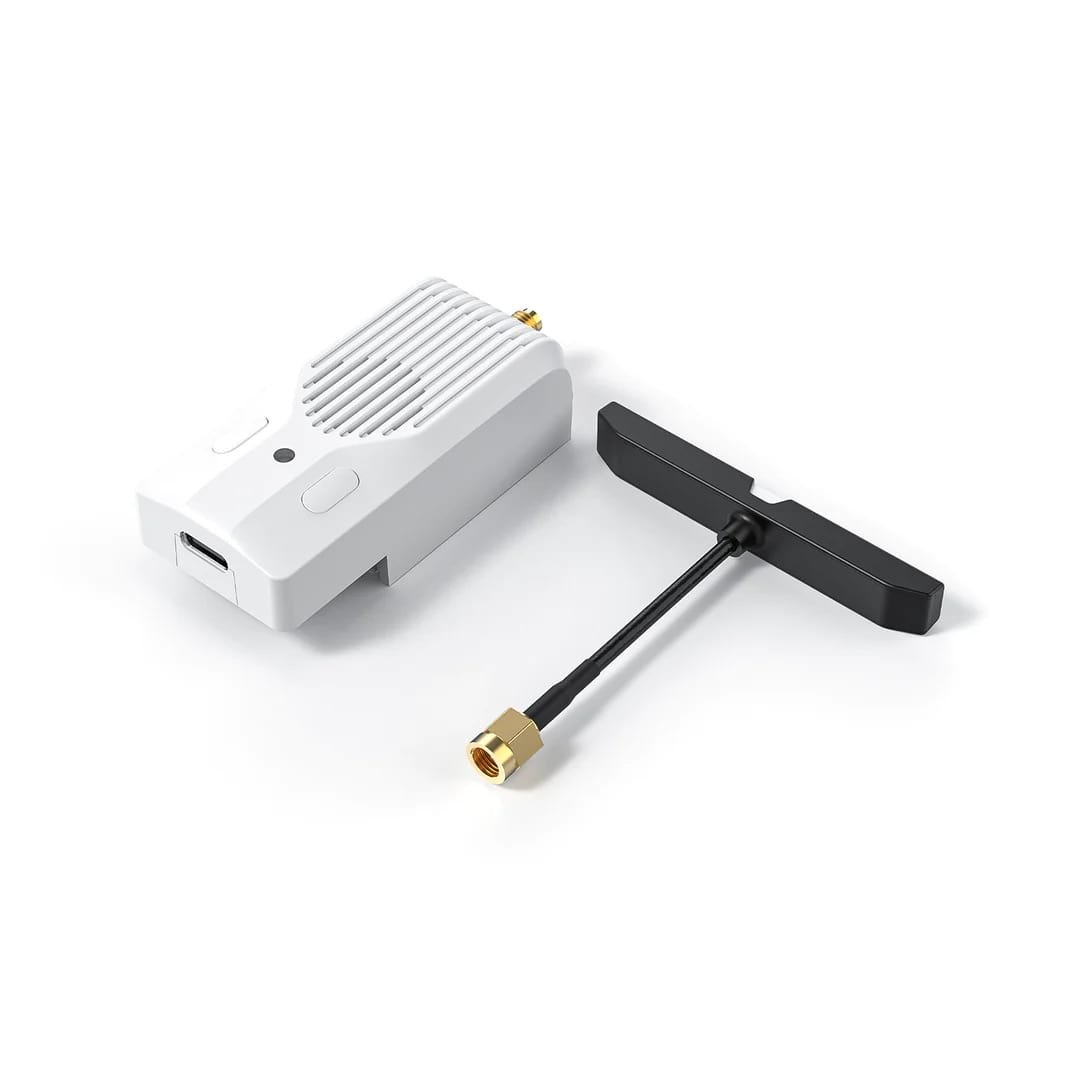
• The Nano TX V2 module has been enhanced to provide an unparalleled piloting experience. It features an innovative T-LED antenna, the blinking frequency of which indicates signal transmission and module connection status. With up to 1W/2W of power, it provides stable connections for FPV racing, long-distance flights, and professional photography. Enjoy smooth flight with the 1804 cooling fan. Unleash your full potential with the Nano TX V2 module.
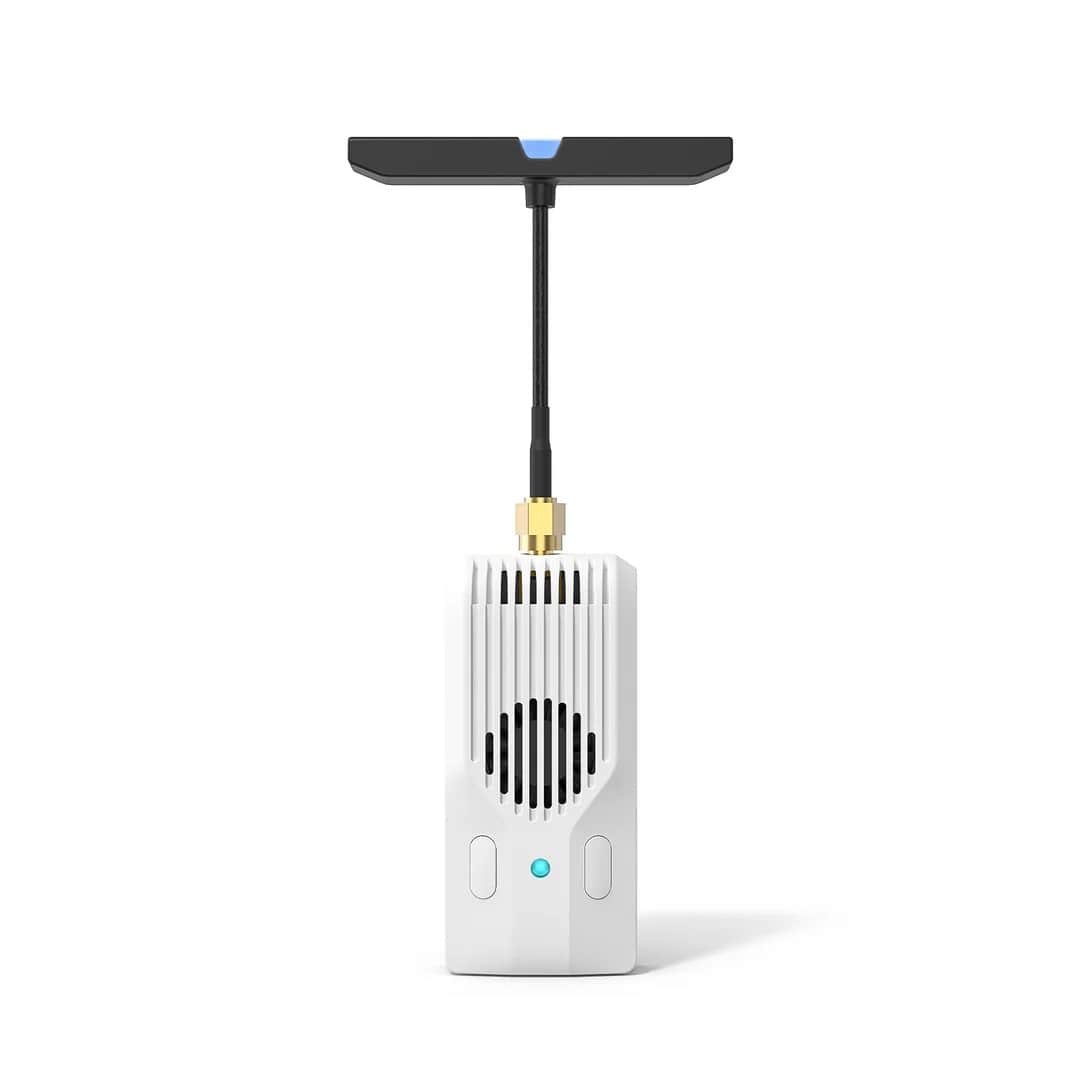
• The T-LED antenna has an integrated LED, allowing information to be displayed directly on the antenna. Once the antenna is successfully connected, regular flashing indicates the signal transmission and reception status. An on light indicates signal transmission, and an off light indicates signal reception. The flashing rate varies depending on the telemetry ratio and connection.
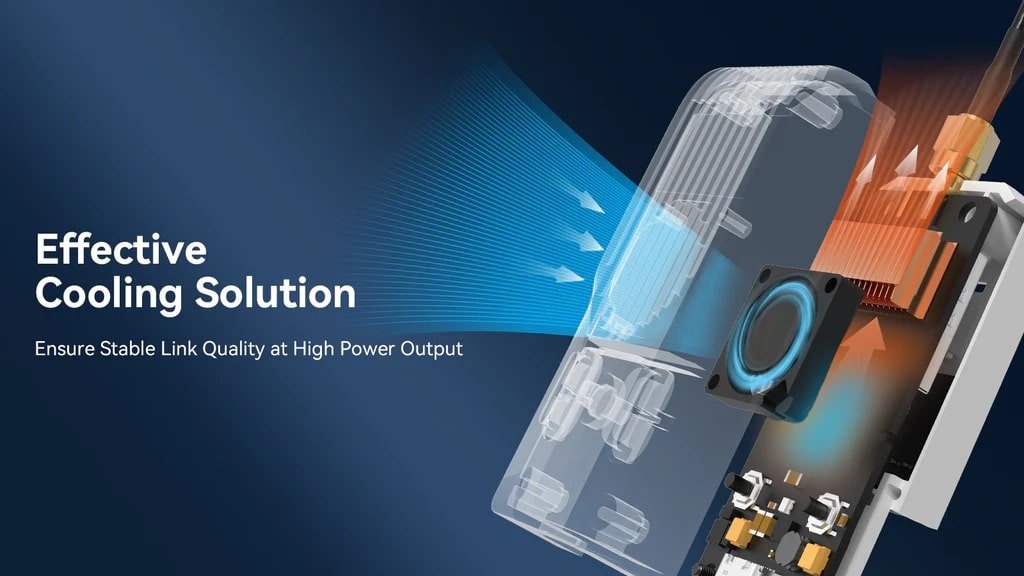
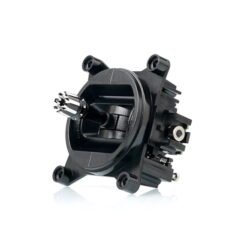
• Nano TX V2 has a fully molded body with excellent texture. Optimized internal airflow channel and radiator, high-speed 1804 cooling fan effectively dissipates heat even under high power, ensuring stable communication performance.
Specification:
• Manufacturer: BETAFPV;
• Model: ELRS Nano TX V2 Module;
• RF output power: 25mW/50mW/100mW/250mW/500mW/1000mW;
• Speed: 2.4GHz): 50Hz/100Hz/150Hz/250Hz/333Hz/500Hz/D250/D500/F500/F1000;
• Frequency versions: 2.4 GHz ISM;
• Input voltage: 7V~13V;
• Power consumption: (2.4GHz): 8V,1000mA@1000mW, 150Hz;
• USB port: type-C connector;
• Incorrect software version: ExpressLRS V3.3.0.
More
Diagram
Below is a schematic diagram of the Nano TX V2 module.
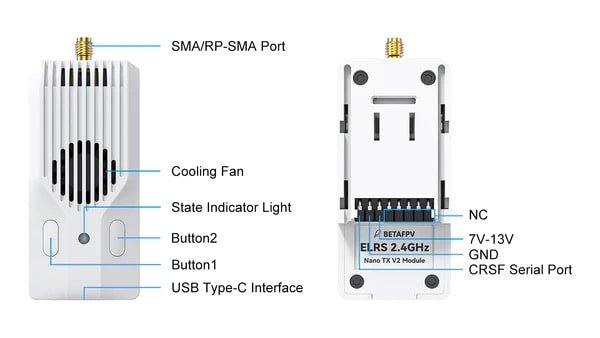
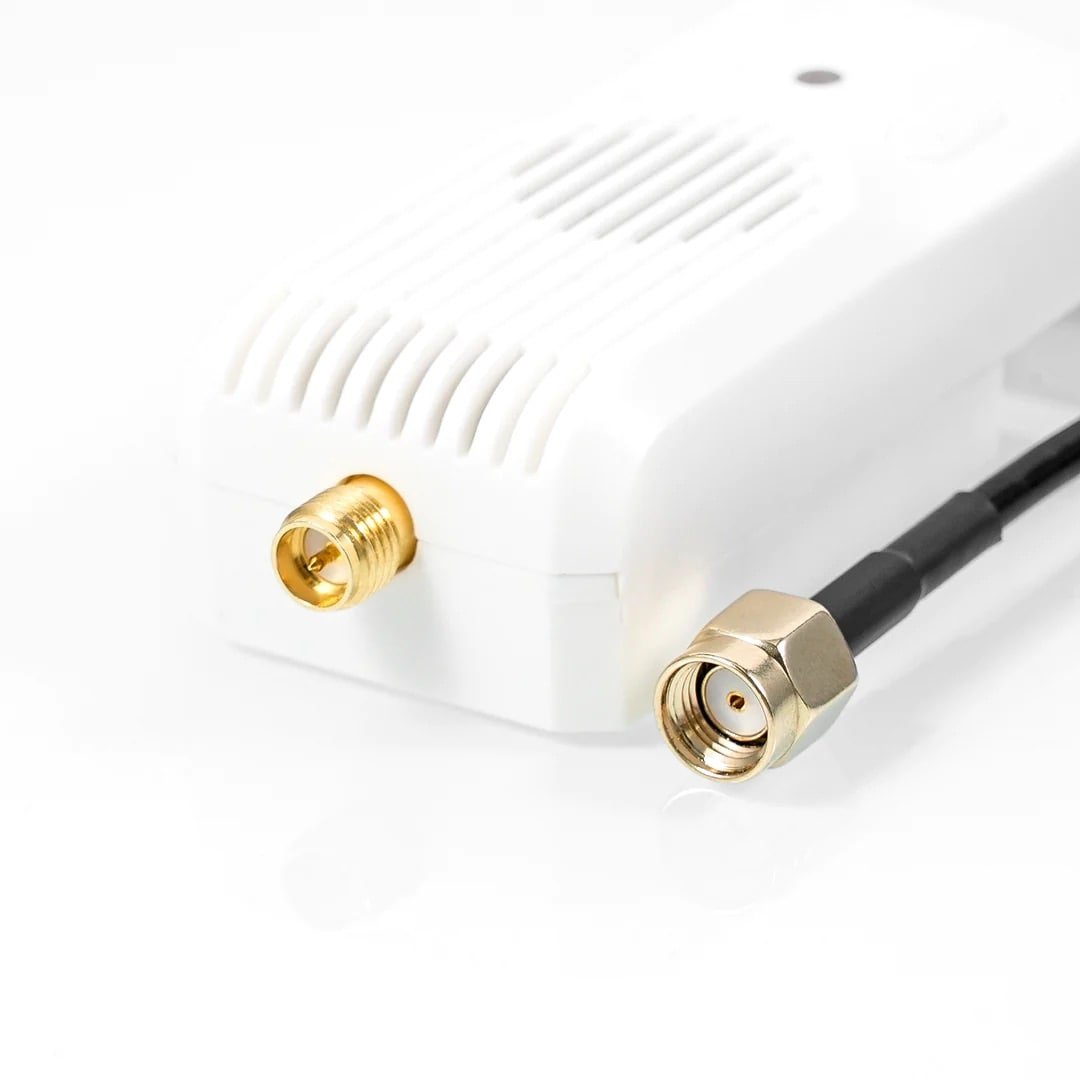
Note: Install the antenna before turning on the device. Otherwise, the PA chip of the Nano TX V2 module will be permanently damaged.
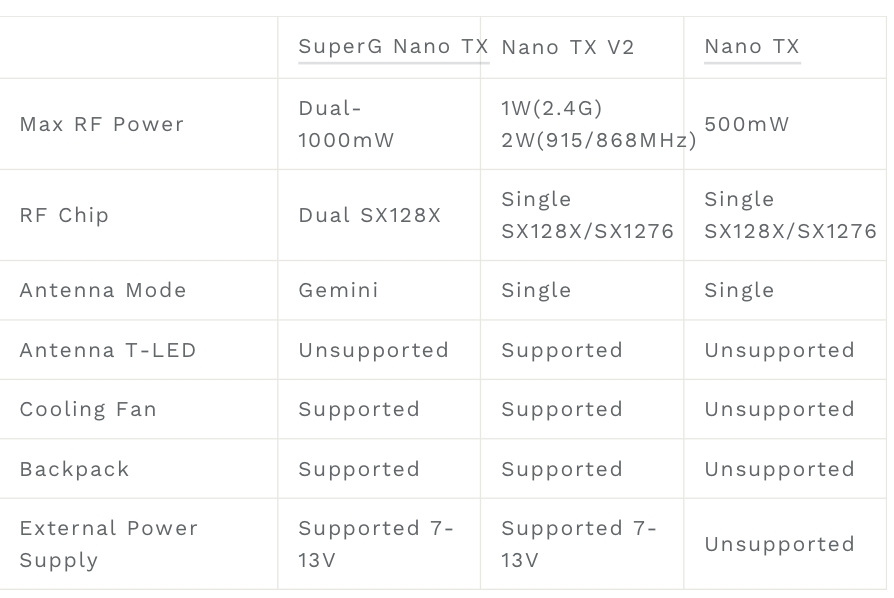
Comparative information is provided below.
Typical configuration
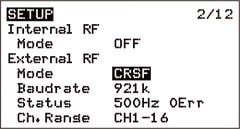
In EdgeTX system, select “MODEL SEL” and enter “SETUP” setup. In this setup, turn off the internal RF (set to “OFF”), turn on the external RF and set the output mode to CRSF. Connect the module properly and then the module will work properly. The settings are as follows.
Lua is a lightweight and compact scripting language. It can be used to embed radio transmitters and easily configure and modify a set of module parameters. Instructions for using Lua are provided below.
- Download elrsV3.lua from the official BETAFPV website or the ExpressLRS configurator;

- Save the elrsV3.lua files on the radio transmitter's SD card, in the "Scripts/Tools" folder;
- Press the “SYS” button or the “Menu” button on the EdgeTX system to enter the “Tools” setup, where you can select “ExpressLRS” and launch it;
- The following images show the Lua script if it is successfully run.
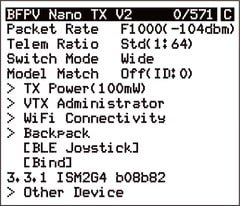
Custom buttons
There are two buttons for users to customize their functions. The operations are as follows.
- Enable WiFi mode by turning on the module or by turning it on for 60 seconds.
- When the RGB status indicator slowly flashes green, the receiver's WiFi is enabled (WiFi name: ExpressLRS TX, password: expresslrs)
- Connect your phone or computer to WiFi and access the browser at http://10.0.0.1. You will be able to find the custom button settings page
- In the “Action” column, select the desired custom function; in the “Press” and “Count” columns, select the type of button press and the number of presses or duration of the press
- Click "Save" to complete the configuration.
There are six configurable hotkeys and two button usage modes: long press and short press. You can set a custom duration for a long press and a custom number of presses for a short press. The six configurable functions are listed below.
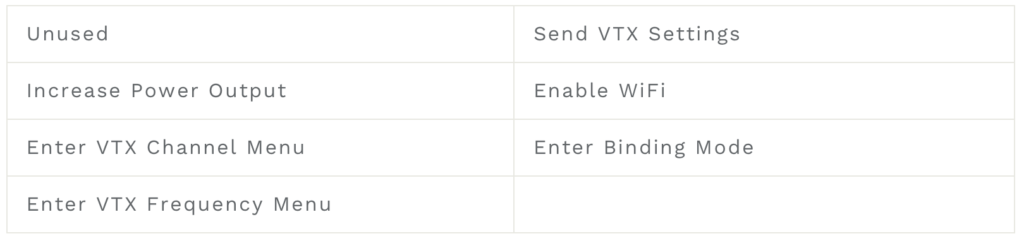
The intended module functions are listed below.

Tethering and external power supply
The default firmware of the Nano TX V2 module is ExpressLRS version 3.3.0. There is no pre-set binding phrase. So Binding with transmitters must ensure that the receiver uses a higher version V3.0.0 without the binding phase.
- Put the receiver into pairing mode and wait for the connection.
- Quickly press button 1 (left button) three times to enter binding mode (factory default), or you can enter binding mode by clicking “Bind” in the Lua script. If the indicator turns solid, it means the device is successfully bound.

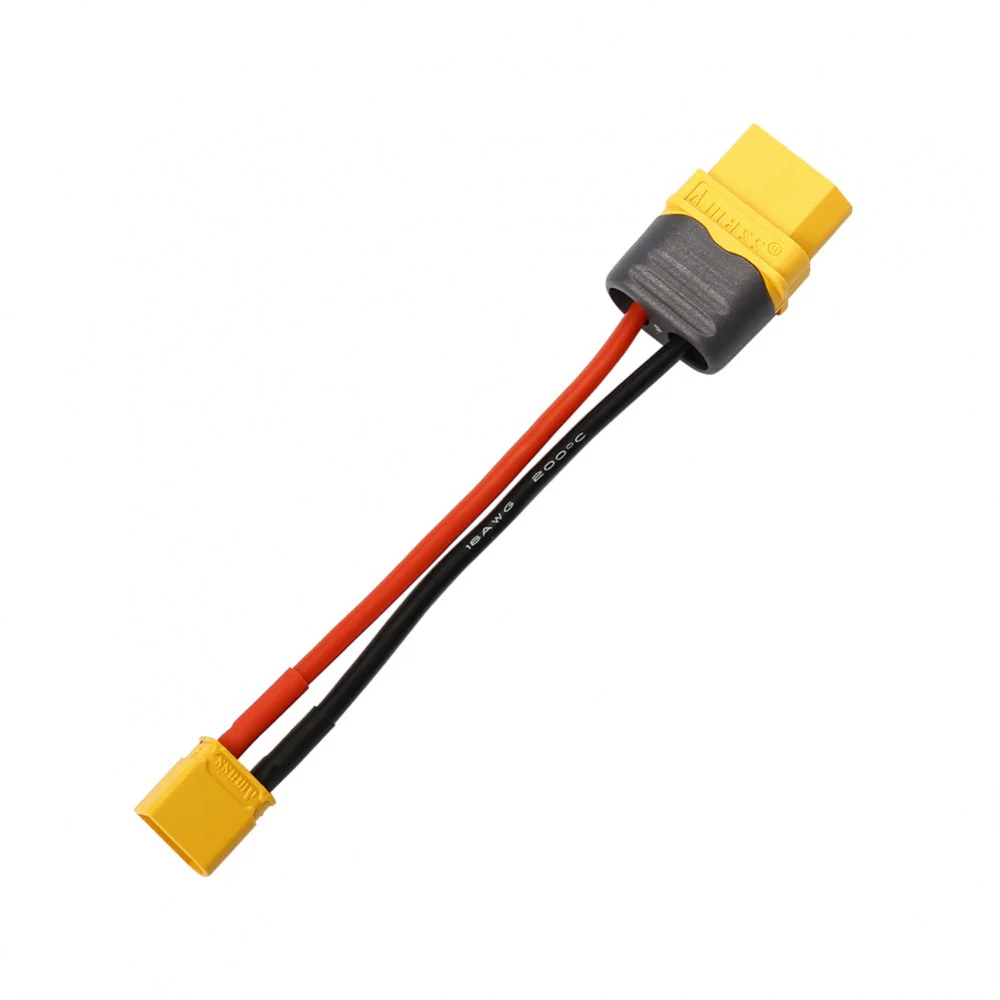
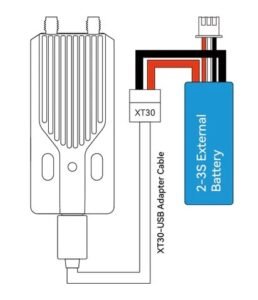
When using a transmission power of 500mW or more, the power consumption of the Nano TX V2 module is quite high, which shortens the use time of the remote control. Users can supply power to the module by using the XT30-USB adapter cable to connect it to an external battery. The usage method is shown in the figure below.
- The power consumption of the transmitter is not only related to the transmission power, but also to the telemetry coefficient. When using a high power of 500 mW and above, the feedback ratio can be set to be larger to reduce power consumption and extend the use time.
- For example, when using Gemini mode, with a feedback ratio of 1:128, the power consumption is 1000 mA, while with a feedback ratio of 1:2, it is only half of 1:128.
Package:
1x BETAFPV Nano TX V2 module;
1x BETAFPV T-LED antenna;
1x USB-C data cable;
1x Type-C XT30 connector;
1x Instruction.
Warning: Install the antenna before turning on the device. Otherwise, the PA chip of the Nano TX V2 module will be permanently damaged.

We recommend:

Only logged in customers who have purchased this product may leave a review.
Related products

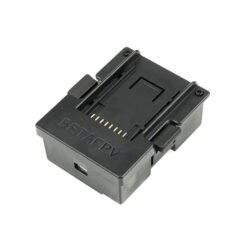
Joysticks, accessories
€19,99
This product has multiple variants. The options may be chosen on the product page 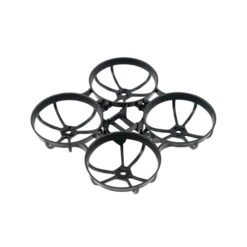
Whoop frames
€6,49
This product has multiple variants. The options may be chosen on the product page 
-7%

-9%
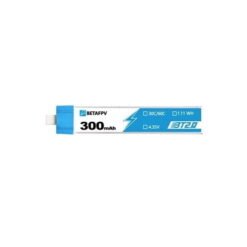
1S LiPo batteries
Original price was: €6,89.€6,29Current price is: €6,29.

Reviews
There are no reviews yet.