


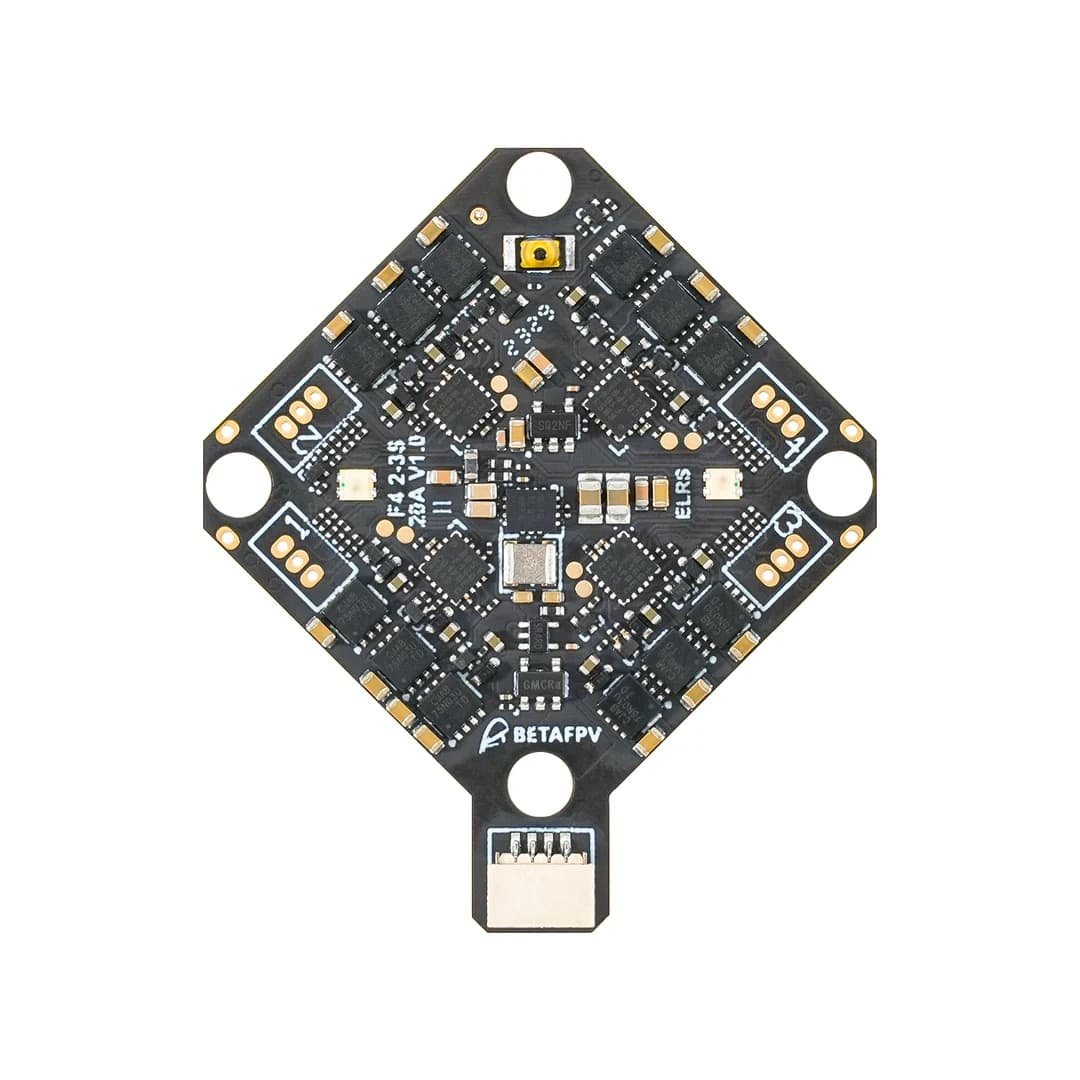


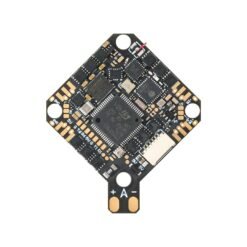

F4 2-3S 20A AIO FC V1 is specially designed for HD VTX systems using 2-3S batteries for a better flight experience. The controller has dual BECs to ensure stable power supply: 9V@2A for DJI O3 system and 5V@3A for external devices. The built-in 20A ESC provides maneuverability and increases flight dynamics. It also features a DJI O3 HD VTX connector and a conveniently accessible USB port for easy installation and maintenance. It is a great choice for HD VTX whoop drone enthusiasts seeking greater professionalism and convenience.

Features:
• Designed for HD VTX systems, has dual BEC: 9V@2A for DJI O3 and 5V@3A;
• The new DJI O3 6-pin PMU allows for easy installation without soldering;
• The integrated receiver allows for optional power-off to save power and provides additional UART TX3 and RX3 connectors for connecting external devices;
• Equipped with STM32F405RGT6 chip, integrated Serial ELRS 2.4G receiver, 16M black box, barometer, current meter, 3 spare serial ports and standard SBUS; supports GPS, HD VTX, external receiver and other equipment.

Specification:
• Weight: 5.58 g (without motor connectors and power cable), 5.92 g (with motor connectors);
• Mounting holes: 26 mm × 26 mm;
• CPU: STM32F405RGT6 (168MHz);
• Six-axis sensor: ICM42688P (SPI connector);
• Receiver: Serial ELRS 2.4G;
• Receiver software version: BETAFPV AIO 2400 RX ELRS V3.3.0;
• Blackbox memory: 16 MB;
• Sensors: Barometer (BMP280/DSP310), voltage and current measurement;
• 5V BEC: 5V 3A @ 8V input;
• 9V BEC: 9V 2A @ 8V input;
• USB port: SH1.0 4-pin;
• Integrated ESC with 20A constant and 25A peak current;
• ESC input voltage: 2-3S;
• FC software version: Betaflight_4.4.1_BETAFPVF405;
• ESC software: C_X_70_48_V0.19.2.hex (BB51 Bluejay hardware);
• Supported signals: D-shot300, D-shot600.
*BEC output current decreases with increasing temperature.
Diagram:
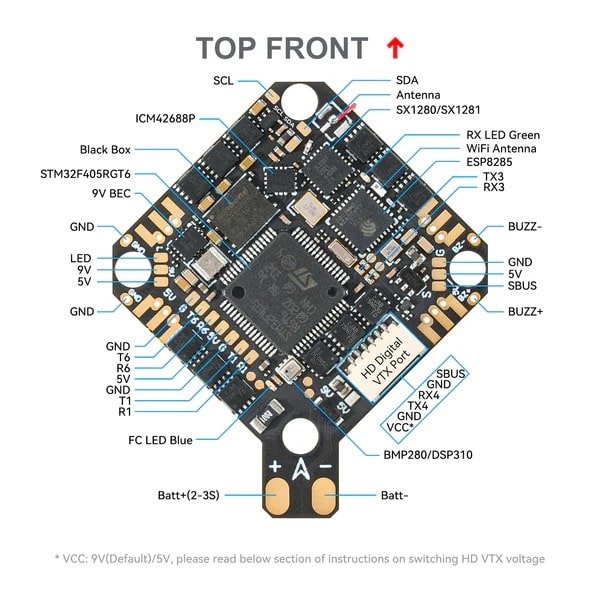

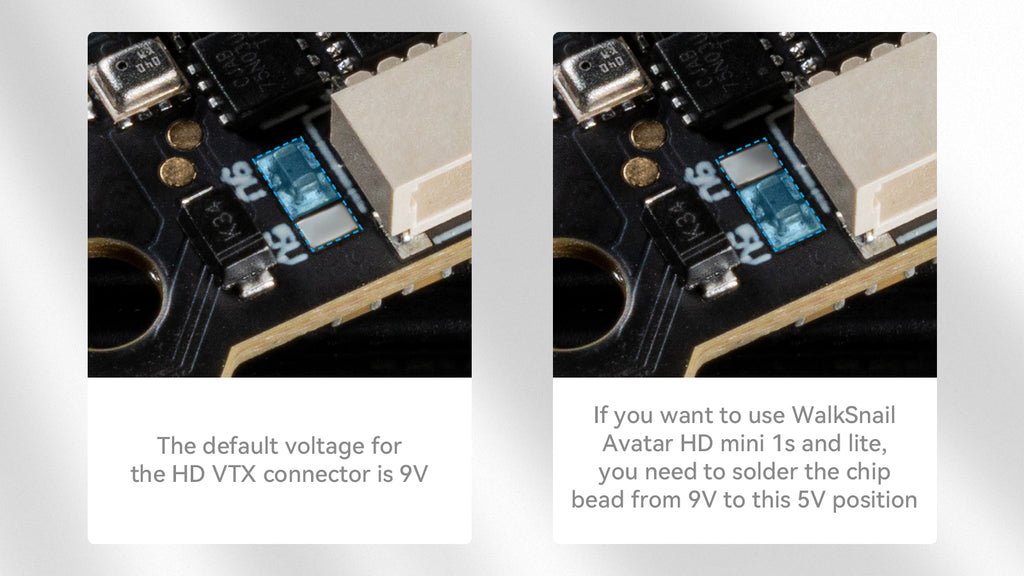
• Power disconnection: Removing the filter chip bead disconnects the power line. To use the integrated ELRS receiver again, simply solder the contact points to restore power; Voltage Switching: The HD VTX connector is preset to operate with 9V. A filter chip (chip bead) is soldered between the 9V pin and the middle pin. If you want to use the WalkSnail Avatar HD Mini 1S or Lite, it is necessary to ensure that the supply voltage is 5V. First, remove the filter chip from the 9V pin and solder it between the middle pin and the 5V pin. An alternative method is to not use the filter chip and perform the switching by simply soldering, connecting the middle pin to the 5V or 9V pin. *Motor selection: Avoid using motors with too high a KV rating - motors over 20,000KV have a higher risk of burnout. Betaflight software and CLI: FC software: Betaflight_4.4.1_BETAFVF405 ESC software: Using BB51 ESC, F4 2-3S 20A AIO FC V1 is based on BLHeliSuite16714903 with Bluejay ESC firmware. It supports bidirectional D-shot and RPM filtering. In Betaflight system, it offers 24kHz, 48kHz and 96kHz fixed PWM frequency options and custom power-on melodies. The factory default is 48kHz. It is not recommended to upgrade to 96kHz as it may cause motor idling problems. DO NOT flash the software with a shorter interval, otherwise there is a chance that the flight controller may jam or burn out. • ESC-Configurator: https://preview.esc-configurator.com/ Serial ELRS 2.4G RX Serial ELRS 2.4G RX uses Crossfire protocol (CRSF protocol) to ensure communication between the receiver and the flight controller board. Therefore, Serial ELRS 2.4G RX can be upgraded to ELRS V3.0 without the need to reflash the Betaflight flight controller firmware. Enter pairing mode by turning the power on/off three times. 1.Connect and disconnect the flight controller three times; The Serial ELRS 2.4G RX can be updated using Wi-Fi or Betaflight serial passthrough. Here is how to update the Serial ELRS 2.4G RX firmware via passthrough: 1.Connect the flight controller to the computer, but DO NOT connect to the Betaflight configurator; How to update software via Wi-Fi here. Connecting external devices Please note that the board has two reserved serial ports and a standard SBUS port, which can be used for an external CRSF protocol receiver or GPS module, as well as an SBUS protocol receiver. You can refer to the illustration below.
• UART3 release: Removing the two resistors from the solder contacts releases UART3. Left side – TX3, right side – RX3. If you need to reconnect the integrated ELRS receiver, you just need to solder the contact points.
Download the firmware and CLI dump file. Link: https://github.com/betaflight/betaflight/releases/tag/4.4.1
• Download: BLHeliSuite16714903
• Download: the Bluejay ESC firmware. Please choose C_X_70.HEX
2. Make sure the RX LED is blinking quickly in double flashes – this means the receiver is in pairing mode;
3. Make sure the RF TX module or radio transmitter has entered pairing mode and sent a pairing pulse;
4.If the receiver is lit steadily, it is paired.
2.Select the target "BETAFPV 2.4GHz AIO RX";
3. Overwrite using the BetaflightPassthrough option in the ExpressLRS Configurator.
Package:
1× F4 2-3S 20A AIO FC V1;
4× M2×10 screws;
4× M2×10 nylon screws;
4× M2 nuts;
4× shock absorbing balls;
4× JST1.25 mm angled sockets;
4× JST1.25 mm straight sockets;
1× SH1.0 4-pin adapter cable;
1× Type-C to SH1.0 adapter;
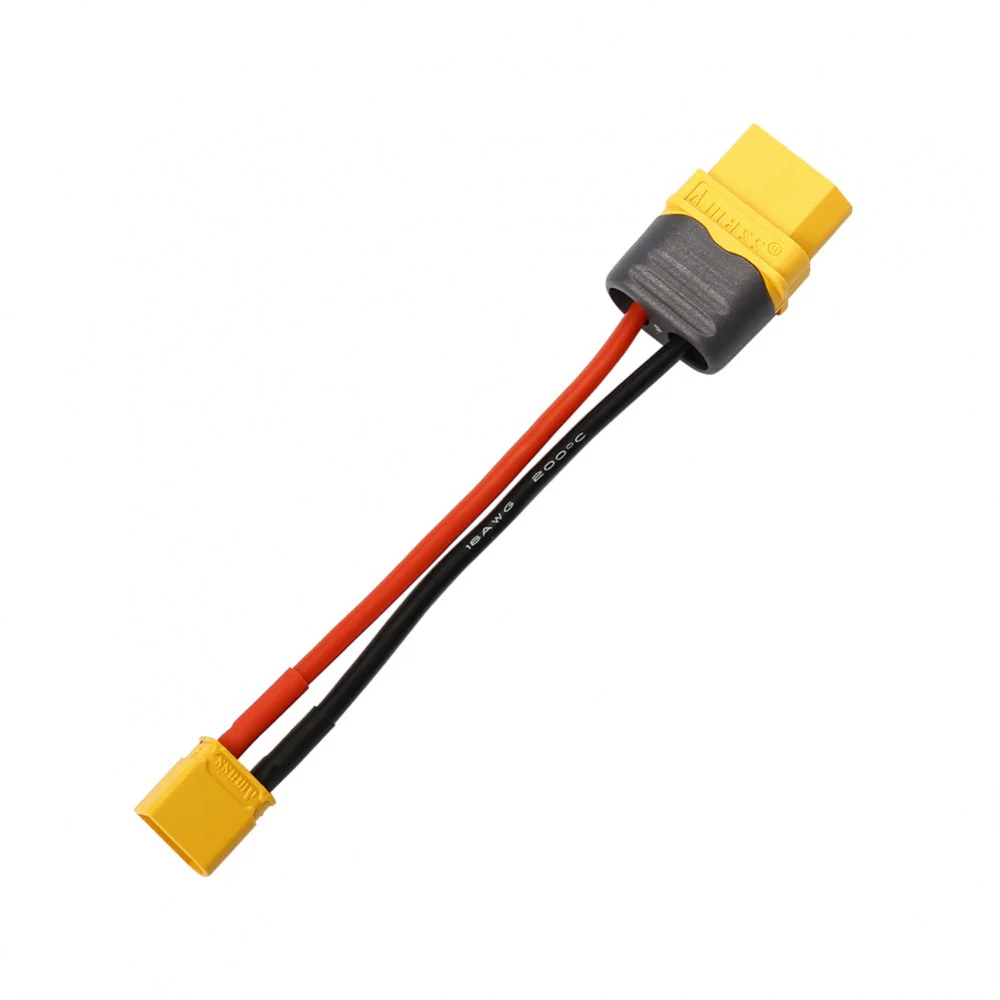
1× XT30 power cable;
1× filtering capacitor;
1× 30 mm elevator VTX connection cable;
1× 60 mm single VTX connector cable.


Reviews
There are no reviews yet.